创建 GitHub 个人资料页面,并自动同步最近的博客文章

最近看到很多关注的大佬 GitHub 主页都有类似的资料介绍页面,才知道 GitHub 原来还有这个功能,于是迫不及待的整起来。
项目地址:https://github.com/monlor/monlor
项目结构
1 | . |
操作步骤
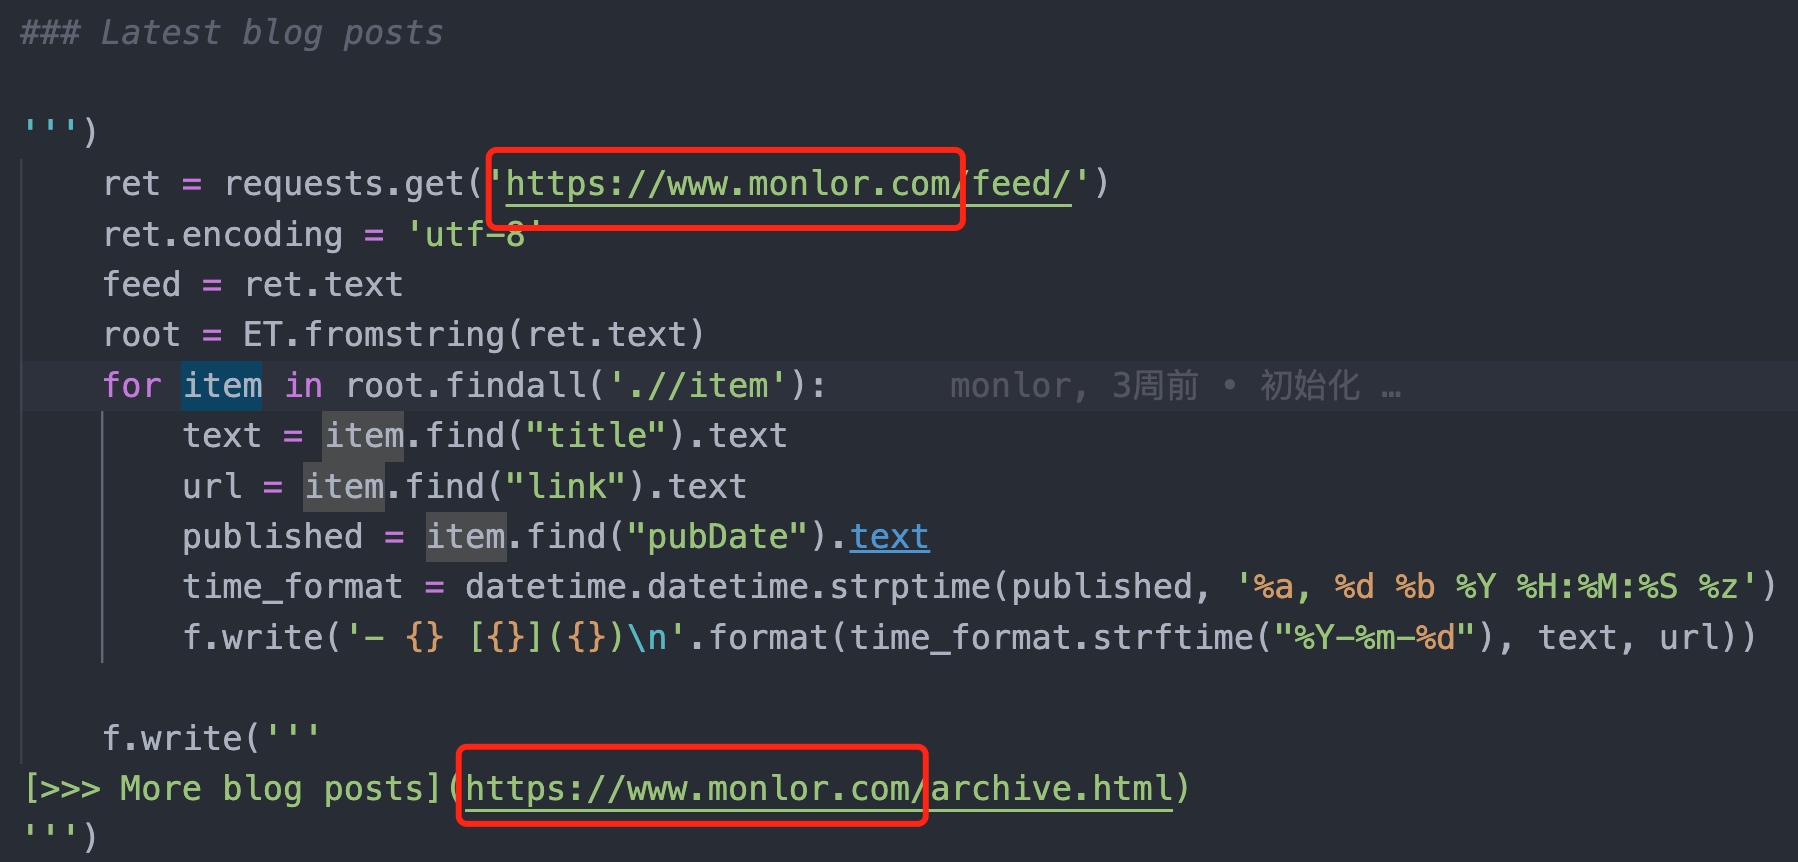
仅支持同步 Typecho 博客的文章,通过解析 RSS 订阅实现
下载项目
项目地址:https://github.com/monlor/monlor
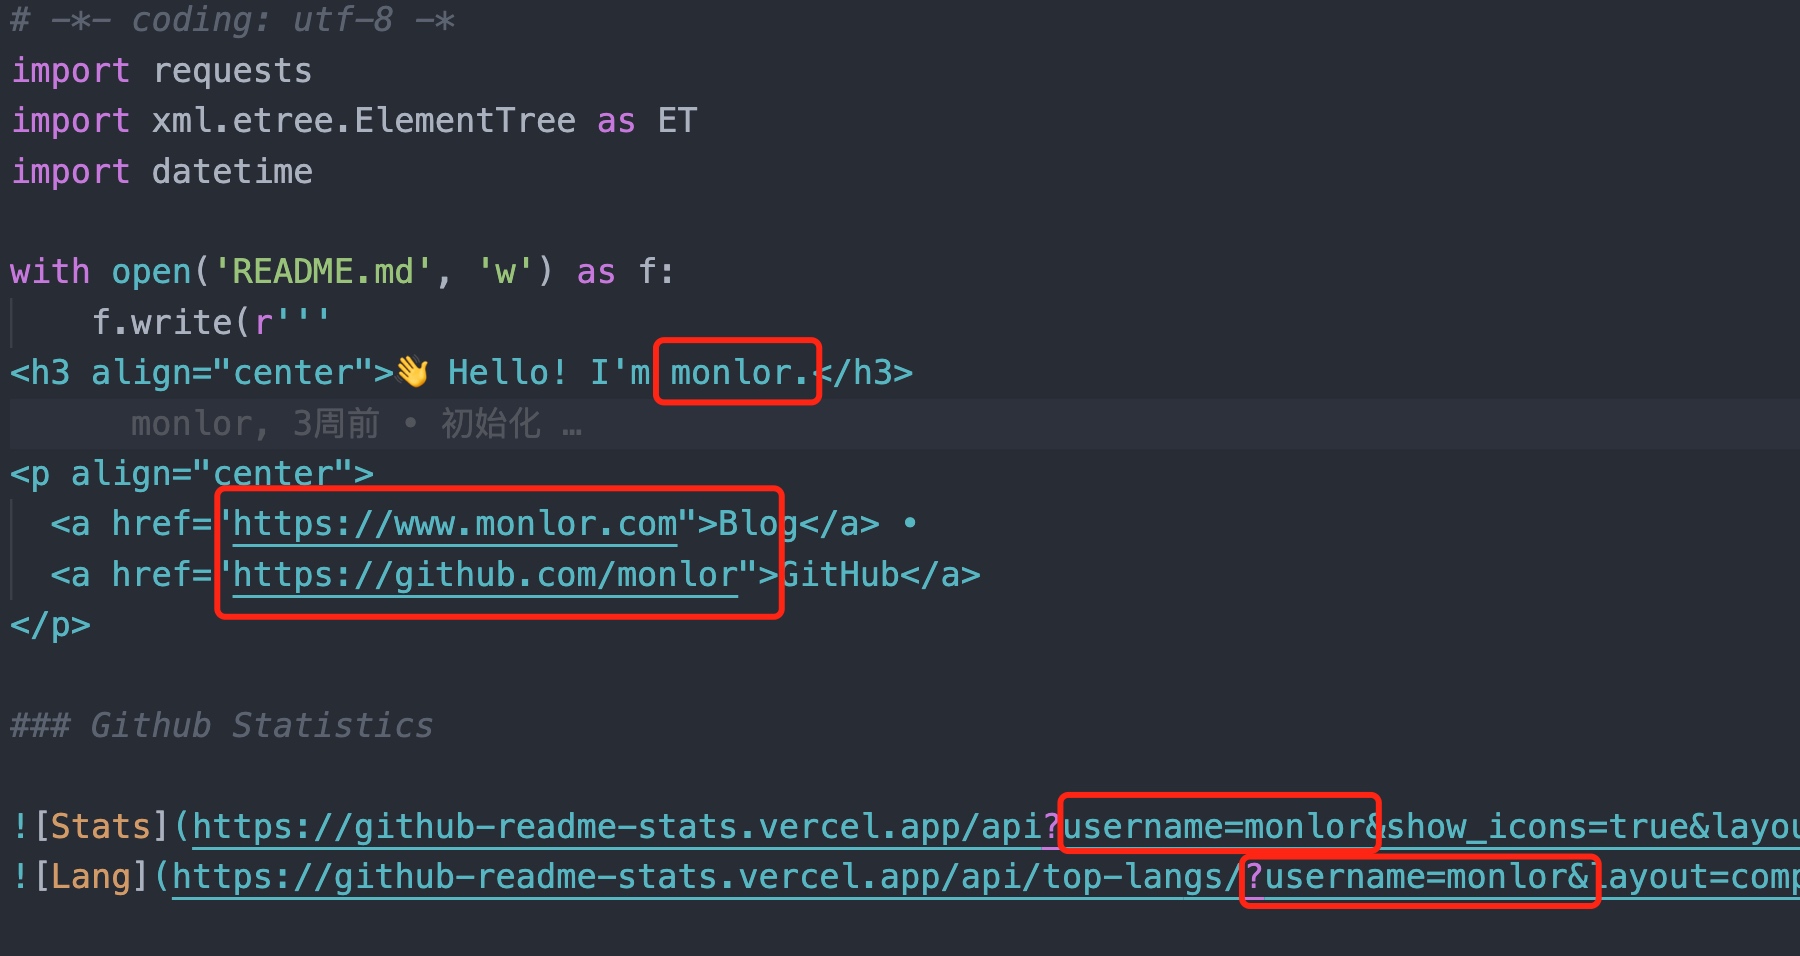
修改 update.py
脚本用于动态生成 README.md
- 替换https://www.monlor.com为你的博客地址
- 替换https://github.com/monlor为你的 GitHub 地址
- 替换 Github Statistics 中的 username 为你的 GitHub 用户名
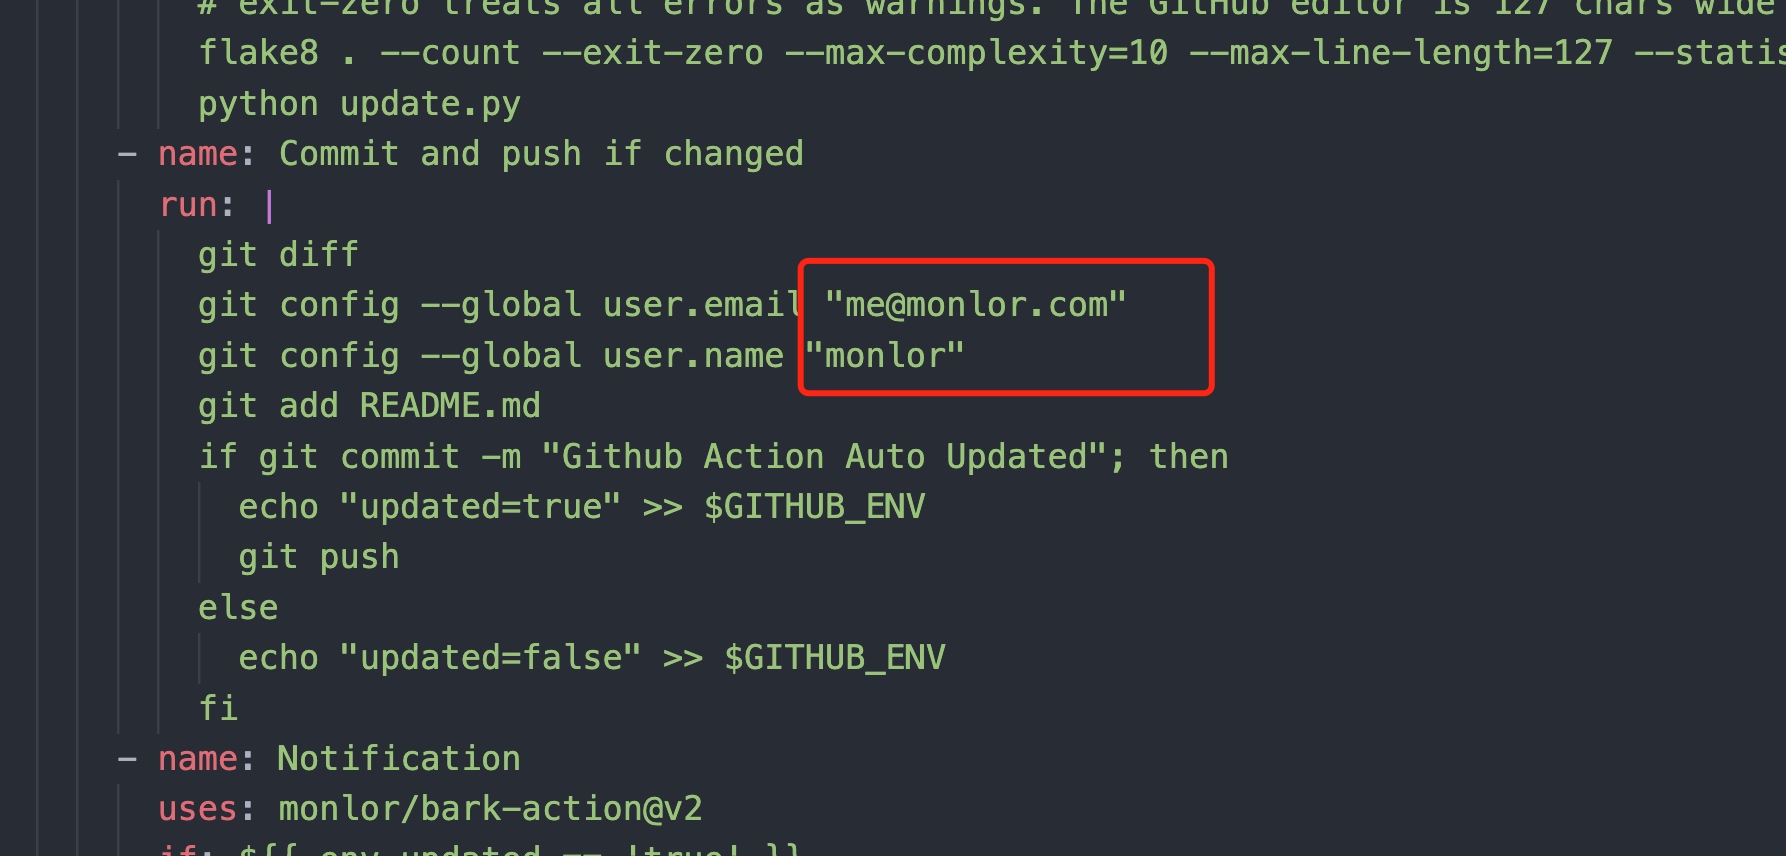
修改 .github/workflows/autoupdate.yml
GitHub Actions 定期执行 update.py 脚本,自动更新博客文章,并使用 Bark 发送通知
修改 git 用户和邮箱,monlor和me@monlor.com

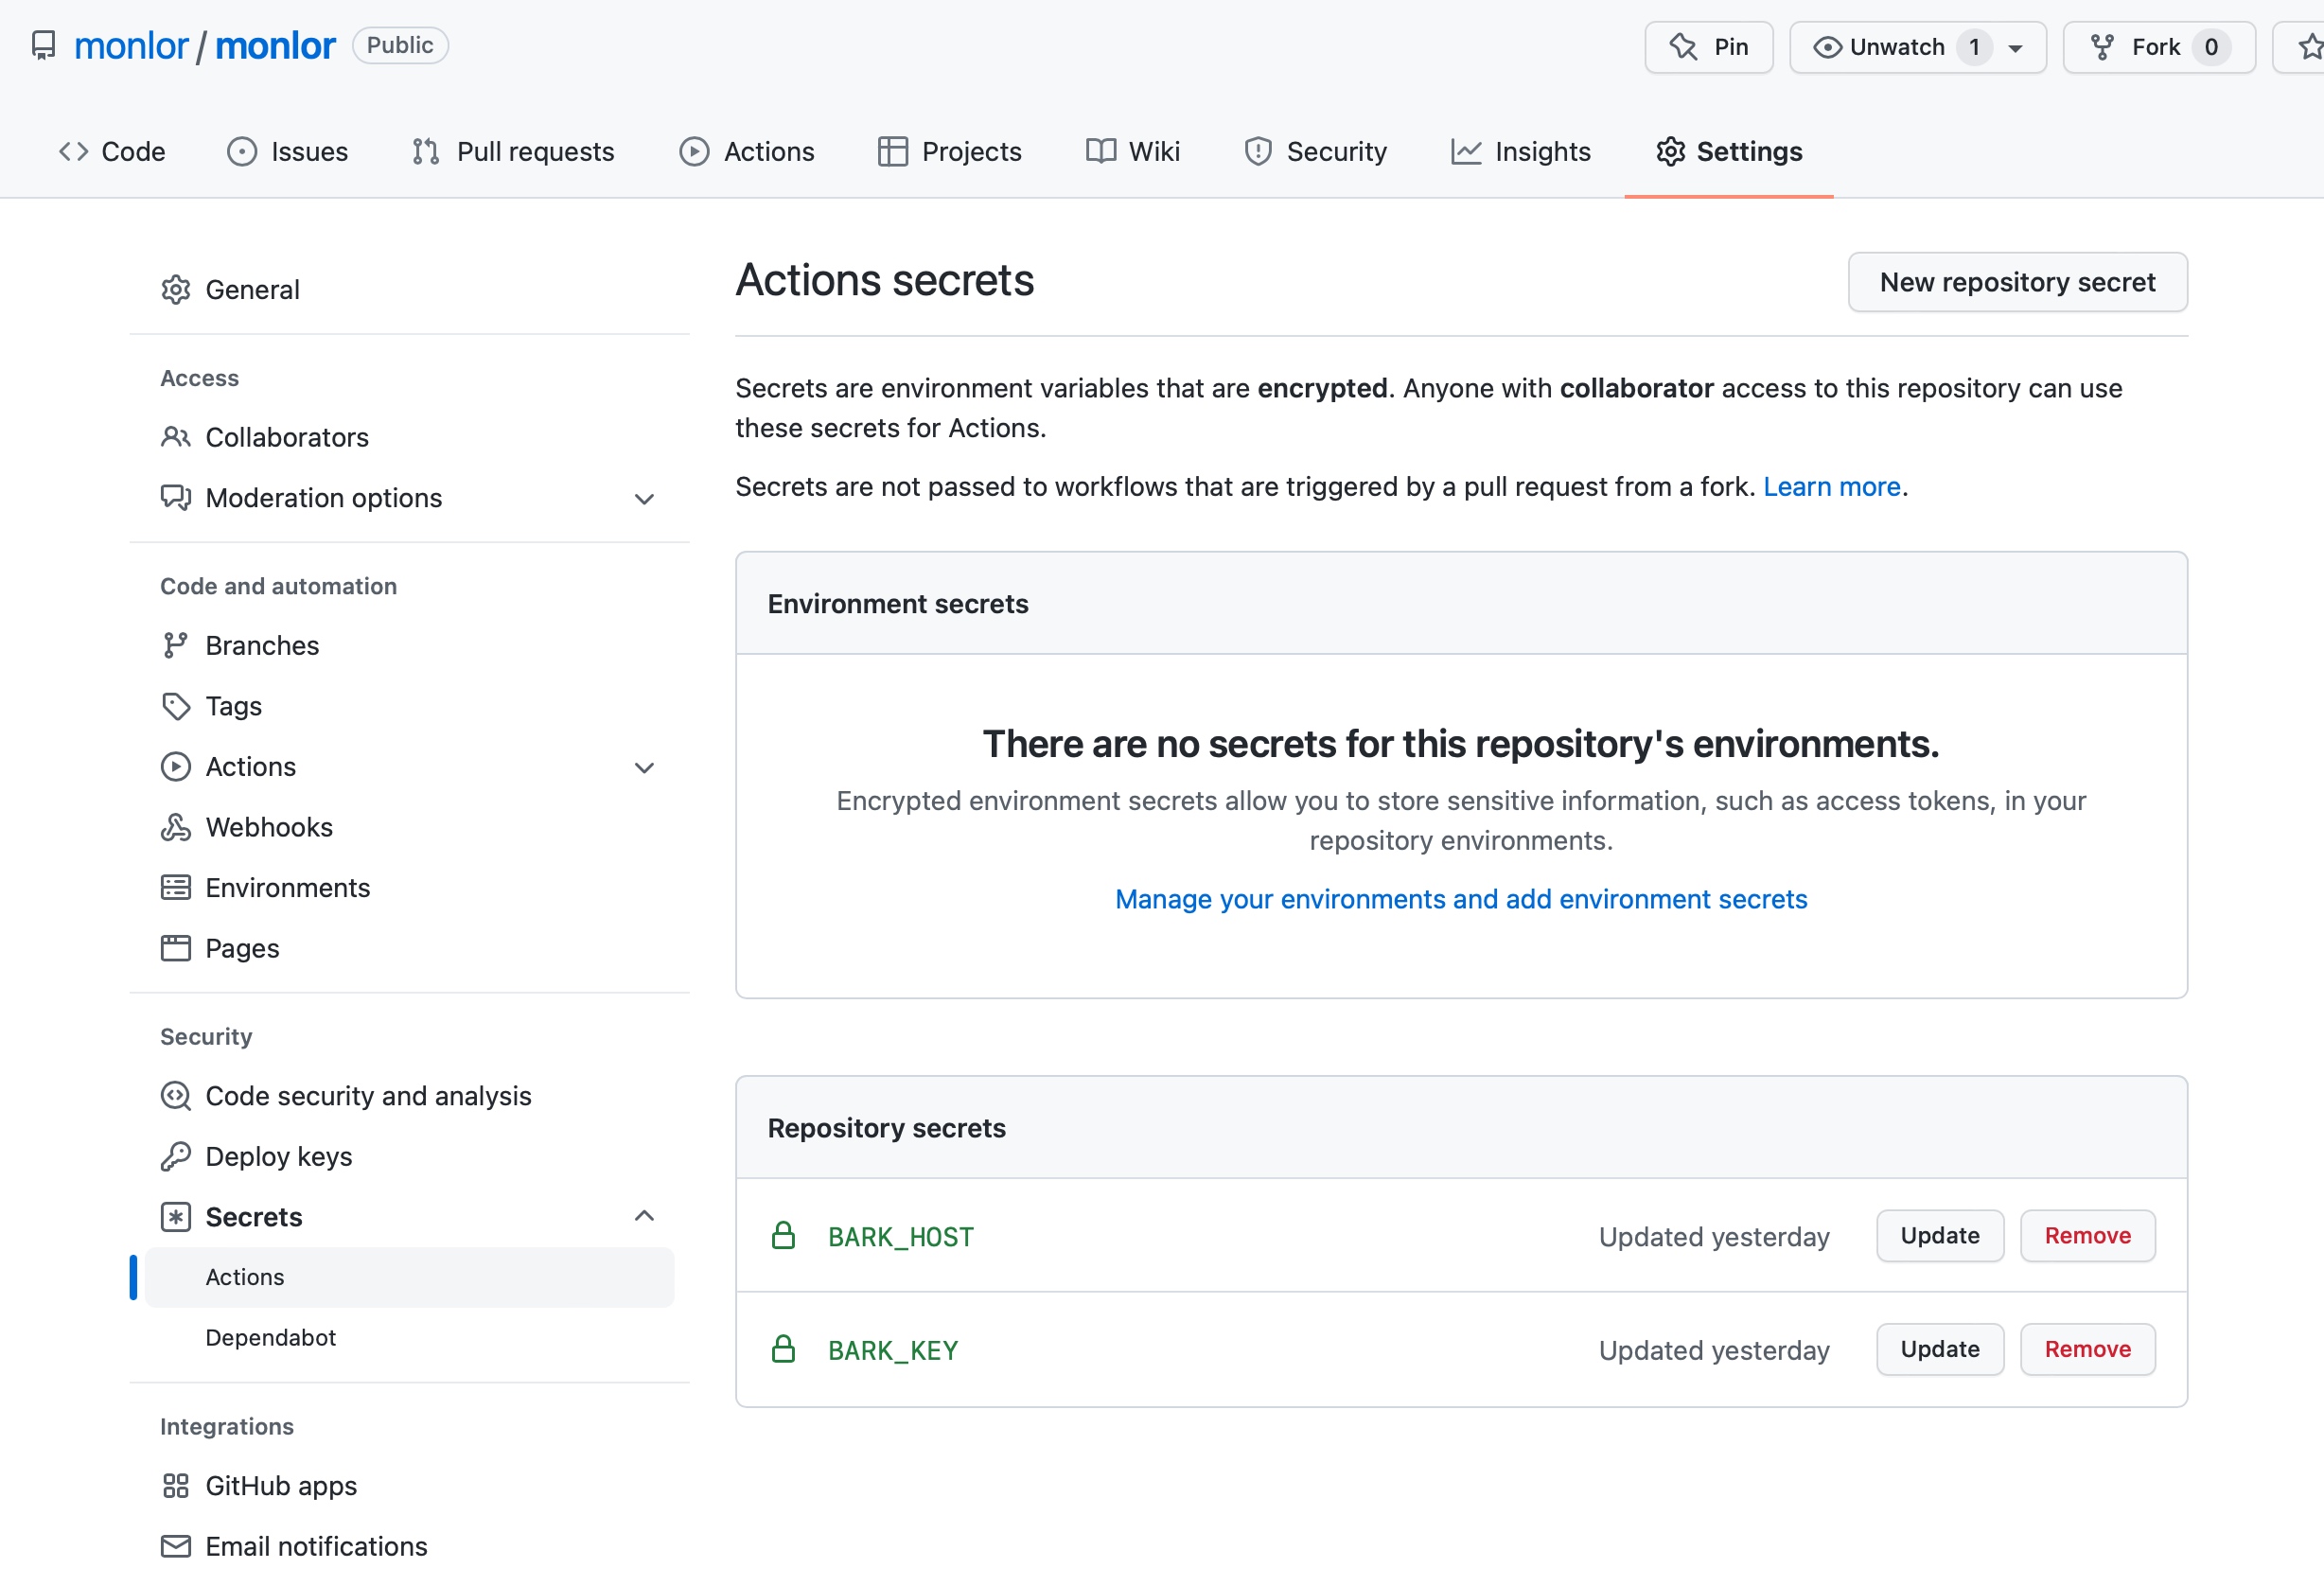
添加 GitHub 密钥,用于 Bark 消息通知

如果你不需要使用消息通知,可以跳过第二步,并删除以下内容
name: Notification
uses: monlor/bark-action@v2
if: $false
with:1
2
3
4
5
6
7
8host: ${{ secrets.BARK_HOST}} # not required
key: ${{ secrets.BARK_KEY }} # Your secret key
title: Github Actions
body: '${{ github.repository }}更新成功!'
isArchive: 1
url: 'github://github.com/${{ github.repository }}'
group: Github
icon: https://github.githubassets.com/images/modules/logos_page/GitHub-Mark.png提交代码
将项目名称修改为你的 GitHub 用户名【必须】
GitHub 用你的用户名创建一个同名项目
将刚才修改的代码提交到这个项目果
1
2
3
4
5
git init
git remote add origin {你的项目地址}
git add .
git commit -m "init project"
git push origin main # main 为初始化的分支名,也可能是 master检查结果
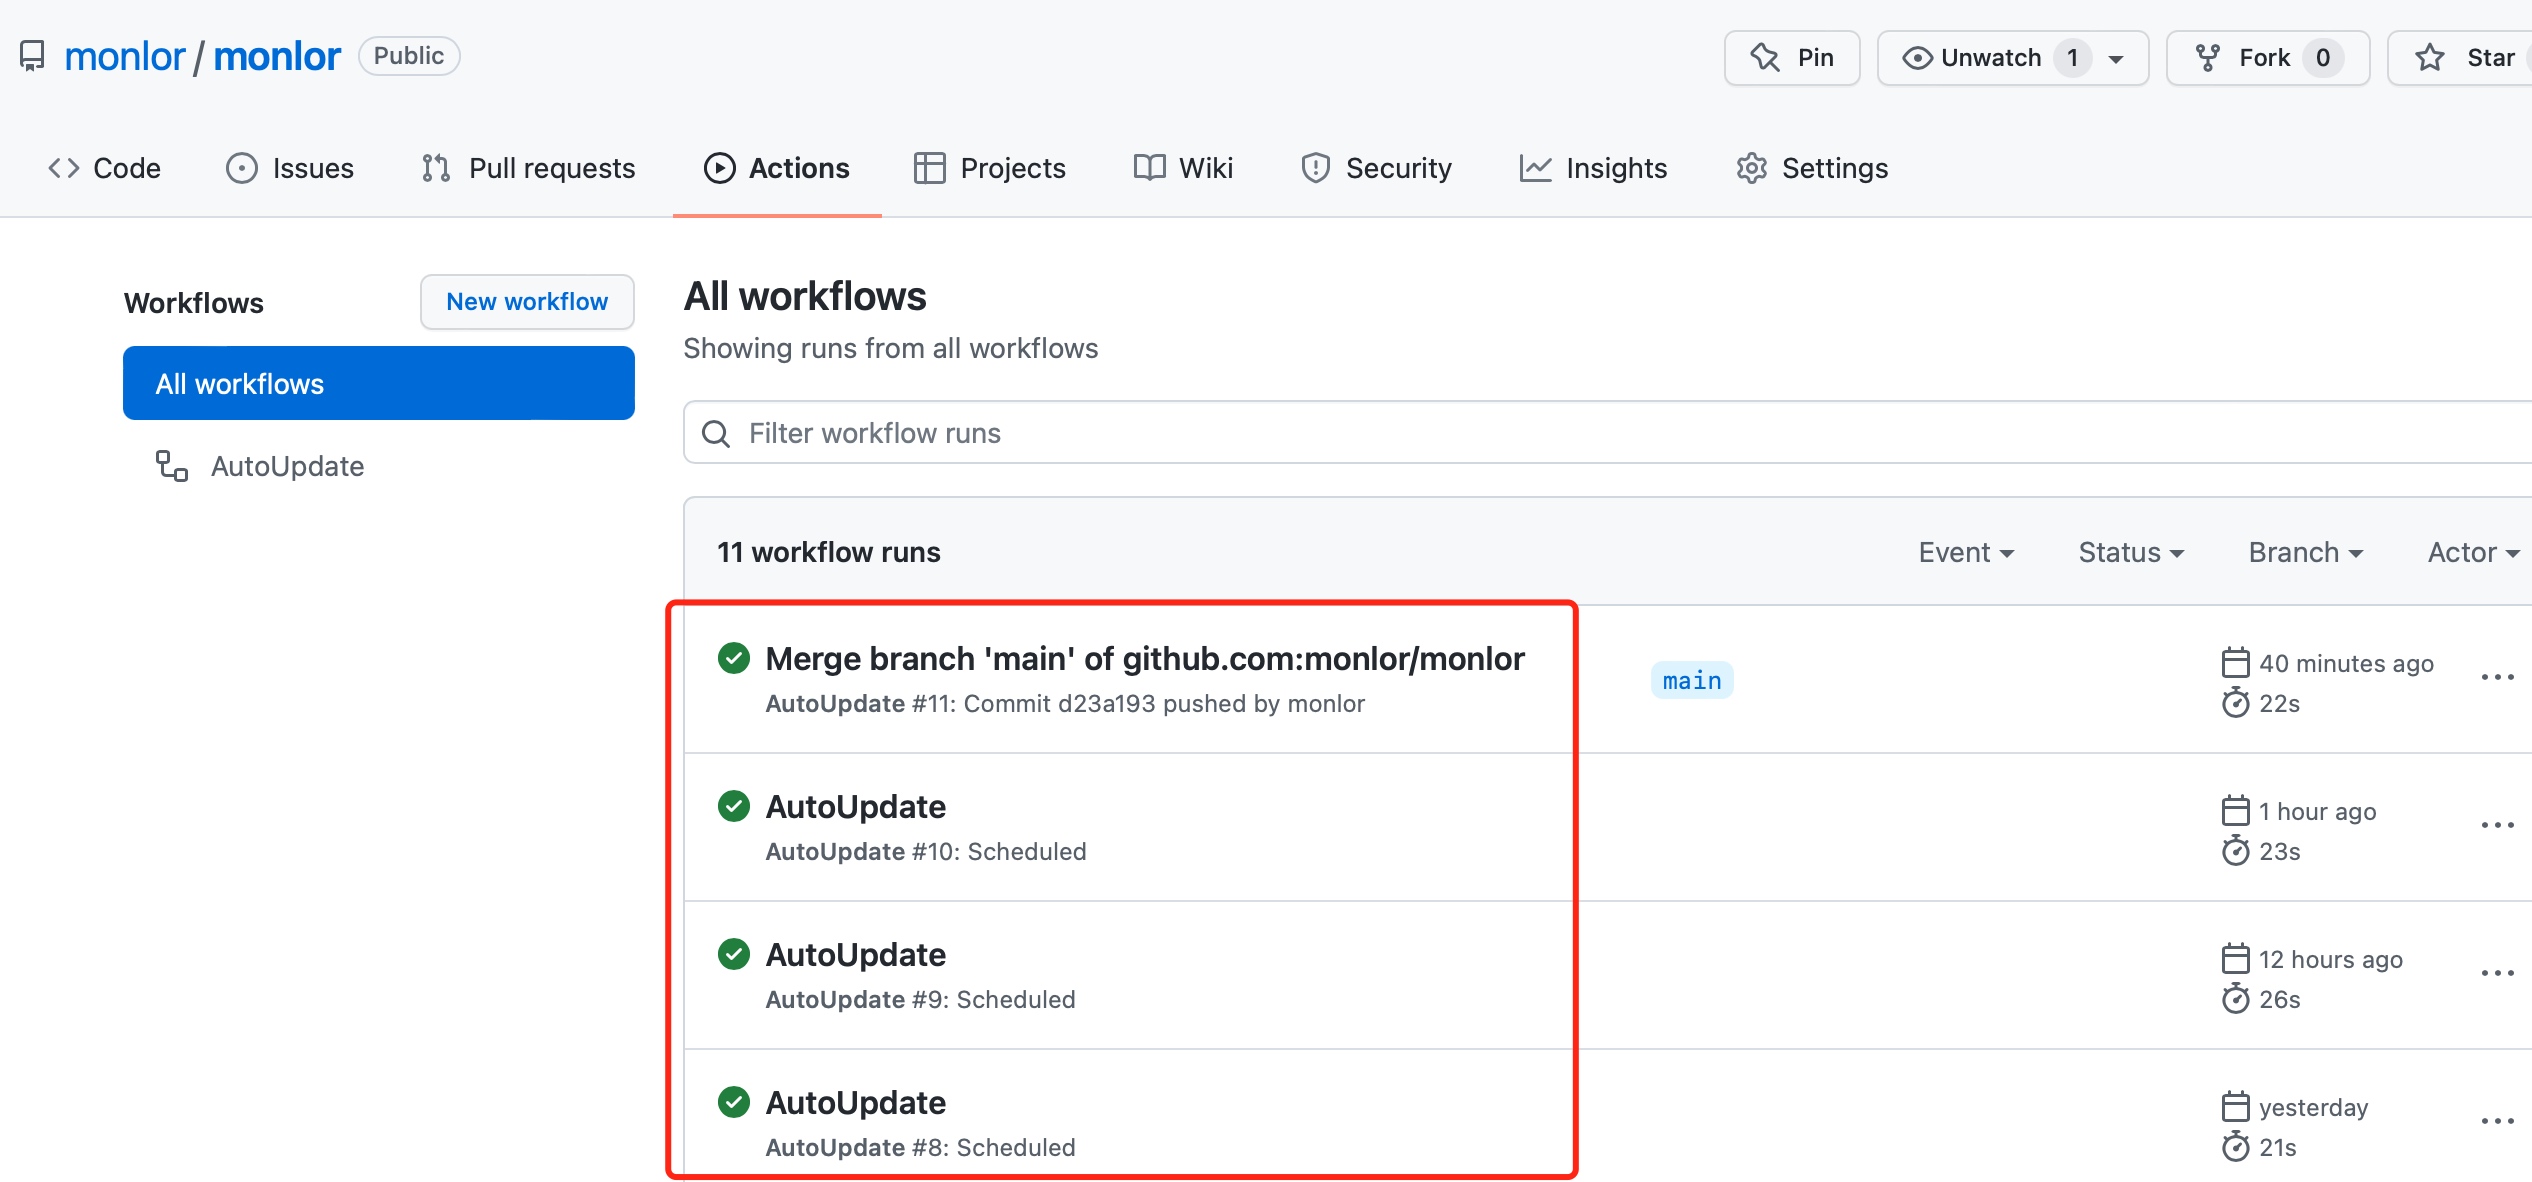
提交完成之后会触发 GitHub Actions,自动更新 README.md
如下,查看你的项目中 Actions 功能,是否构建成功
结尾
到这里你的 GitHub 资料页已经完成,enjoy~

本博客所有文章除特别声明外,均采用 CC BY-NC-SA 4.0 许可协议。转载请注明来自 时光's Blog!

评论